The fiberglass will be layed up inside the wingtip on this poster-board shape.
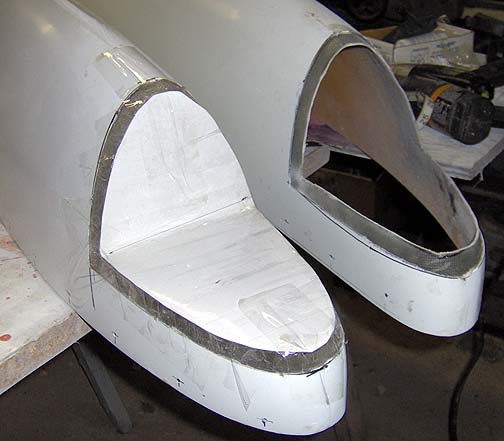
Now we will make the walls of the cutout area (this is where the LED Nav
lights, Landing Lights and Strobes will be installed). To make a form for
the fiberglass, we used some thick poster-board, folded and held in place
in the cutout area. Regular cardboard works well for this also. The
folded poster-board was placed into the cutout and then using a sharpie
marker, the shape of the flange was traced onto the poster-board, and the
line was cut with scissors. The cut poster-board was then taped in place
in the cutout as shown here:
The fiberglass will be layed up inside the wingtip on this poster-board shape.
Here is the view inside the wingtip before the fiberglass was layed up:
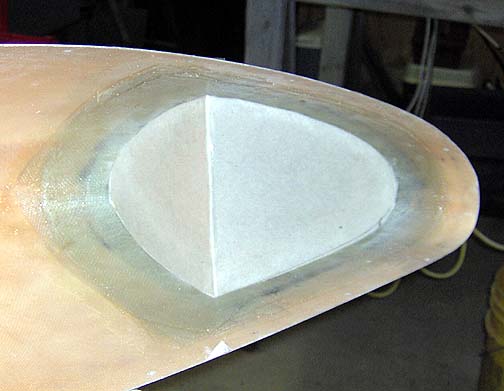
Since I want to be able to remove the poster-board after the fiberglass cures,
the inside of the form was covered with 2" clear packing tape before it was
taped in place.
Next, eight layers of fiberglass were layed up across this form with polyester
resin. These layers overlapped the surrounding area by approximately 1".
Here is the first layer being trial fit before adding the Polyester resin:
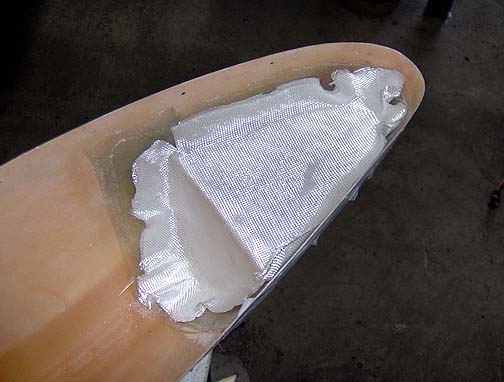
Note how the fabric bunches up on the inside curves. We had to
snip the fiberglass fabric in these areas before laying them in.
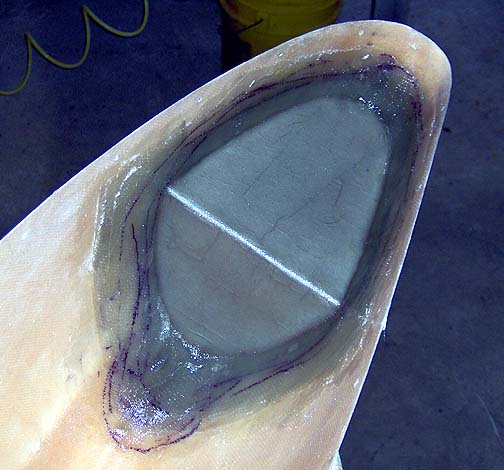
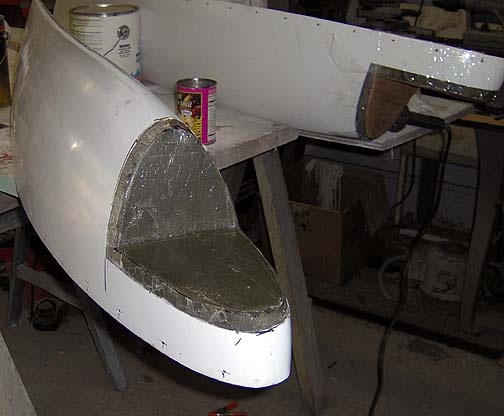
Here it is with all eight layers and Polyester resin smoothed out:
After curing, the wingtip was flipped over and the forms were removed. Here
is what it looks like at this point:
Once fully cured for a couple of days, the wingtip lighting areas were made
ready for priming and paint. A lightweight filler was used to fill any
imperfections:.
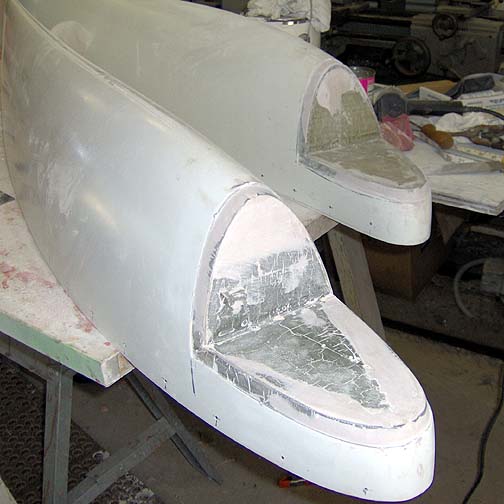
A couple of areas needed to be built up slightly to allow the wingtip
lenses to sit flush with the wingtips.
I didn't spend very much time on the flat walls of the lighting areas as they will be mostly covered anyway.
Once satisfied with the shape and look of the wingtip lighting area, the
lenses could be cut to final size.
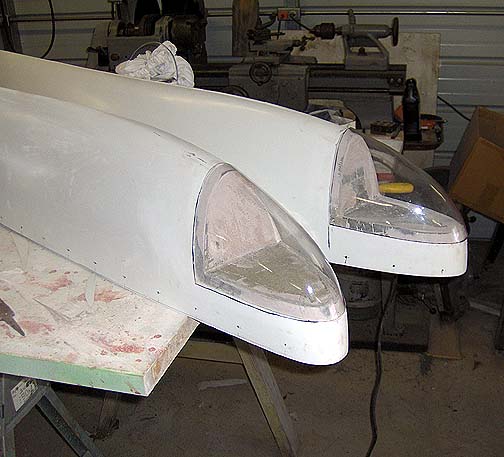
The above picture represents quite a bit of trimming and filing of the lenses
to get a nice tight fit.
Next, the lighting system will be completed and temporarily installed. Once all of the holes are cut and platenuts are installed for the lighting system, everything will be removed and the tips will be readied for paint.
Click here to go to Wingtips page 4