Here is a picture of the aluminum arc attached to the fuselage:
Now we can start mounting the flap handle assembly in the fuselage.
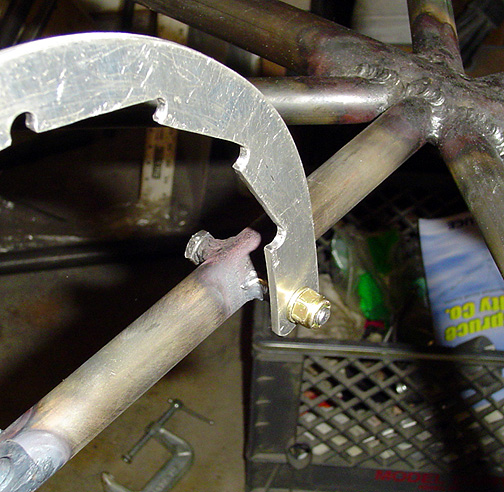
The first thing mounted was the 3/8" bushing that will receive the bolt to
hold the aluminum arc piece in place. This was located, as per the
drawings, so many inches back from the cross tube at station "B"
Here is a picture of the aluminum arc attached to the fuselage:
Next, the flap handle bearing was fitted and welded to the fuselage. It was also located, as per the drawings, so many inches back from the cross tube at station "B". During the welding of the bearing, a scrap piece of 1/2" tube was slipped in place and a bubble level was used to assure that the bearing was level.
Here is the bearing welded in place with the flap handle installed. Notice that the flap handle is secured in place with a cotter pin and washer:
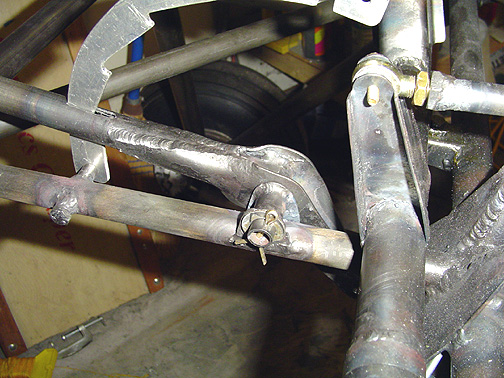
An oil hole will be drilled in the cross tube of the bearing.
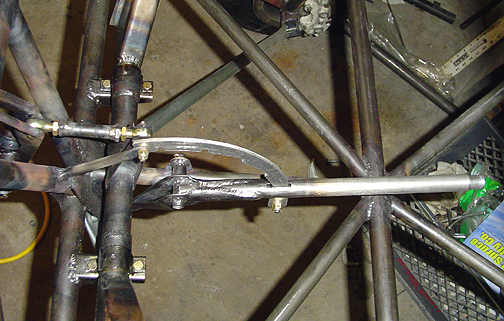
The final bit of business is to secure the top part of the aluminum arc.
It is held in place with a piece of 3/8" tube, flattened on one end
and drilled for the 3/16" bolt
as shown below:
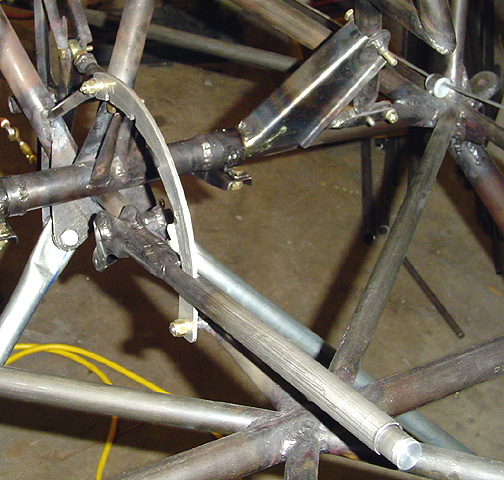
That's it for the flap handle. It travels smoothly up and down through its entire range. I will wait until the wings are being fitted to install the flap cable and the various pulleys required to get the flap cable to the flap drive arms on the wings.
Completed Flap handle assembly:
Flap Handle Assembly
Completed: July 2, 2005
Total Time: 18 hours