
The tailwheel was totally disassembled, prepped and primed with Poly Fiber Metal Prime Epoxy primer. I let it dry for 3 days then scuffed and top coated it with a Black engine paint with a Ceramic coating in it. This stuff goes on real nice then to harden it you are supposed to bake the parts at 200 degrees for 1 hour. I waited until the wife was gone for the afternoon, then wired the parts in the oven and baked them.
The parts then sat for 3 days before I final assembled them.
Here is the completed tailwheel assembly:
The paint seems very hard and chip proof. Time and flight hours will tell.
Next I mounted the tailspring (purchased from AviPro) to fuselage. The tailspring basically mounts to a mounting pad at the base of the tailpost and to the mounting attachment bolt tube previously welded to the fuselage bottom longerons. The bottom tailwire mounting plate gets welded at the bolt location first before the tailspring is bolted in place. Here is a picture of the tailspring mounted to the fuselage:
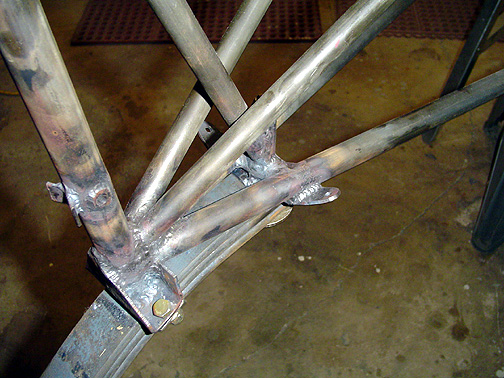
The pad at the bottom of the tailpost and the tail wire mounting plate are both shown full size in the plans.
Here is a picture of the entire tailwheel assembly mounted to the fuselage:
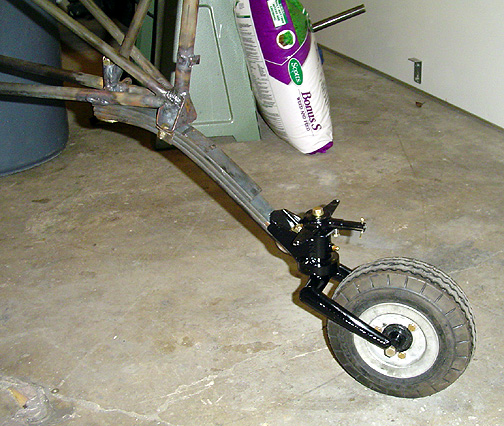
Tailwheel Assembly
Completed: 03/31/05
Total Time: 40 hours (includes painting and mounting)