October 30, 2003
Flanging the lightening holes in the ribs make them fairly stiff but twist is still possible. To eliminate twist and to stiffen the ribs even further, the plans call for some 1/2" X 1/2" angles to be riveted between lightening holes. The angles are made from .025 2024-T3 aluminum.
What is needed is some 1" strips that can be bent on a brake to form the 1/2" X 1/2" angle material. To simplify things and save a lot of time, I took some .025 sheet down to my local HVAC shop and had it cut into 1" strips, 4 feet long. I also took some .032 aluminum sheet because they are needed for the Rib Attach angles later. They did the whole job for a little over $12. and I ended up with very accurately cut 1" strips, 4 feet long.
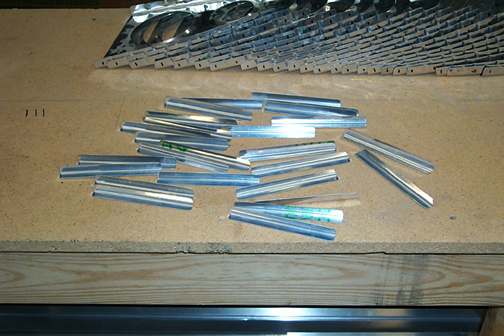
The 4' strips were then taken over to my friend Mickey's house and were bent into 90 degree angles using his large brake. Just like everything else, we made sure there was a radius in the corner. These 4' angles were then cut to size using tin snips and their edges were smoothed on the scotchbright wheel. Here is a bunch of stiffeners for the nose ribs:
Before attaching the stiffeners to the ribs, the stiffeners and ribs will get some primer put on. If you plan on priming, its best to get it between any two pieces that will be touching. In this case, I want some primer between the rib and the stiffener before they get riveted together. To see the priming page, click here and then come back to this page when you are finished.
To make drilling the holes easier, a drill template was made. A piece of the angle was measured and drilled. The holes were measured in such a way that when another stiffener is placed underneath the holes are centered on the stiffener and properly spaced. Here is the drill template and a stiffener angle clamped together in the vise with a backup piece of wood:
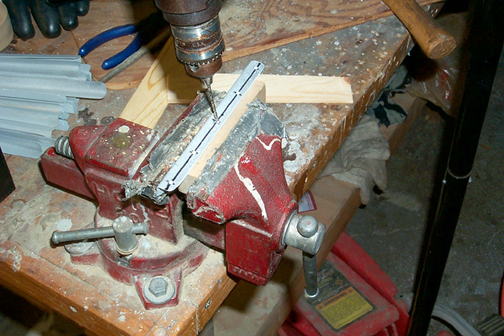
The operation is simple and saves having to measure and mark every stiffener
for drilling.
The holes drilled were with a #40 drill bit. This is the correct size for the AN470-3 rivets. Once all of the stiffeners were drilled, they were match drilled to the ribs. While getting ready to drill the stiffeners to the nose ribs I noticed that the upper angle will land right where a skin rivet will be. To eliminate interference, all stiffener angles will be trimmed and smoothed like the picture below:
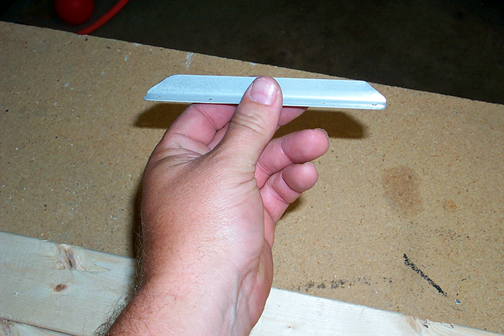
This is only done on the one leg that stands up to make sure there is room
to get a bucking bar on the skin rivets later.
The holes were drilled in the nose ribs to match the stiffener holes:
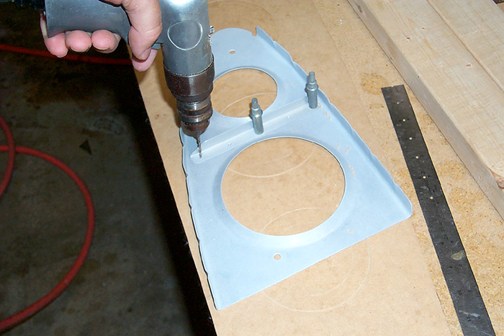
The center hole was drilled first and clecoed (Editor's note: A cleco is
a hole clamp of sorts. A special pair of pliers squeeze the spring
loaded cleco and it is inserted into the hole. When the pliers are
released the cleco grips the holes in the two pieces and presses the two
pieces together) After the center hole was drilled and clecoed, a ruler
was used to make sure the stiffener angle was parallel with the aft end of
the rib. The remaining holes were then drilled one at a time, with
a cleco being placed in each hole before moving on to drill the next.
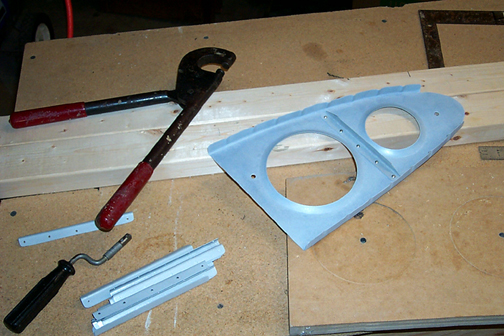
Once the holes are drilled, they must be deburred before riveting. When a hole is drilled in metal it leaves a little burr of metal around the hole. If these burrs are not removed, the rivet cannot sit flat down on the metal when it is set and this will result in a weaker joint. It may also result in future cracks around the hole. To deburr the holes, a deburr tool (pictured below) was used:
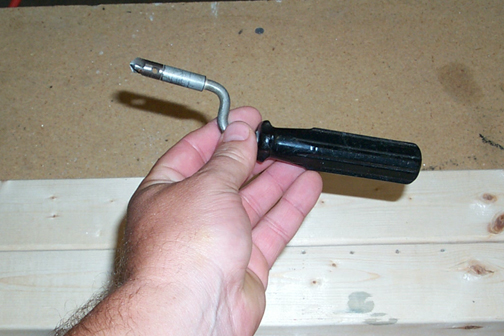
These tools are available through just about any aircraft supply store but my stuff was purchased through Avery Tools. A couple of quick turns is all that is necessary. Be careful to not over-do this as you will enlarge the hole.
Once all of the holes have been drilled and deburred, the stiffener and rib is clecoed back together and then riveted together. There are two ways to set a solid rivet. 1. Use a rivet squeezer to set the rivet. 2. Use a rivet gun and bucking bar to set the rivet. Both methods yield excellent results but if given the option, I will always use the squeezer. It is easier to control and get perfect rivets and a lot less noisy.
Here is the last rivet being set with a rivet squeezer in one of the nose ribs:
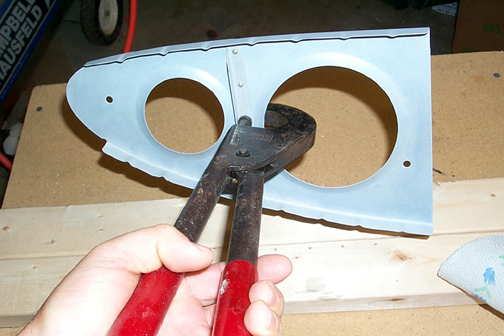
Hand squeezers work real well on the size 3 rivets and fairly well on the
size 4. You can also buy a pneumatic rivet squeezer if you have
gobs of money laying around. They are very nice and people that own
them swear by them. I am financially challenged, so I just do it the
old fashion way.
Here is the finished product: