This exposes everything firewall forward, allowing a complete inspection of the engine and all components.
May 9th - May 25th, 2009
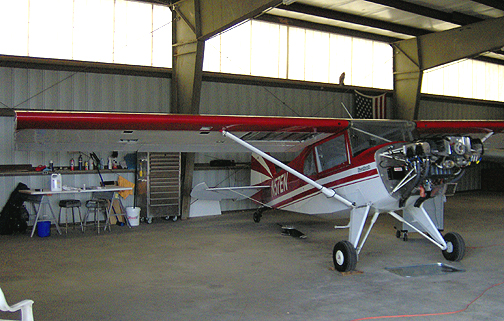
The end of May 2009 marks one year since N57EN received it's Airworthiness
Certificate from the FAA . The AW certificate was accompanied by a
set of Operating Restrictions, which state that N57EN must undergo a condition
inspection annually. At this point, N57EN has 90 hours on it and has
been flying for almost one year, so I feel its time for a thorough inspection
anyway (even if it wasn't required). The inspection can be performed either
by the builder (with a repairman's certificate) or an A&P mechanic. Being
the builder and having the repairman's certificate for N57EN, I will be
performing the inspection myself.
My checklist for the annual condition inspection can be downloaded by clicking here.
The key to doing a really good inspection is to take it in stages, completing
each stage before moving on to the next. For instance, don't inspect
anything while removing the inspection panels and cowling (step 1); just
work on getting the plane opened up for inspection. Then as you conduct
your inspection, don't stop and fix anything found until you have completed
the inspection (step 2); just make a list of deficiencies and keep inspecting.
During step 3, you'll go back and do the actual work to fix anything found
in step 2. Finally, button it all up again and go flying. Here are
the suggested steps to complete in order:
1. Remove the spinner, cowling, all inspection panels, gap
fairings and wing tips (but don't inspect anything yet).
2. Inspect everything and make a list as you go of what needs
to be fixed (but don't fix anything yet).
3. Fix any discrepancies you found during the inspection and
check it off on your list.
4. Put it all back together and go test fly it.
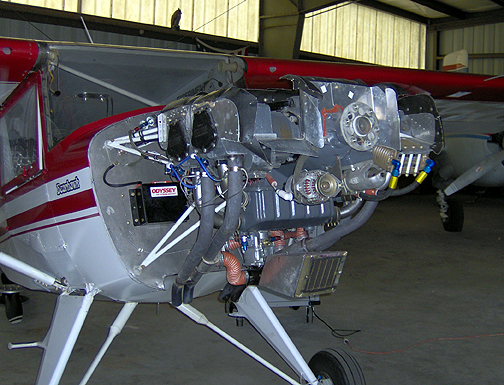
To do a thorough inspection, several components need to be removed. This
includes the entire engine cowling (top and bottom) including the nose bowl
as well as the spinner and prop:
This exposes everything firewall forward, allowing a complete inspection
of the engine and all components.
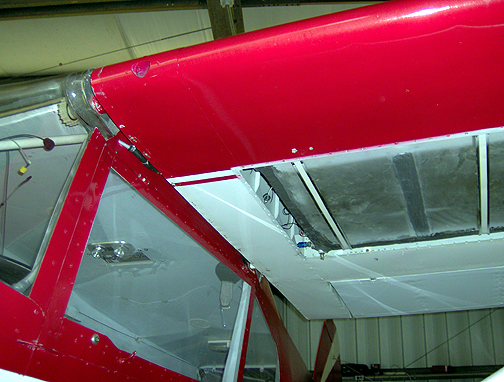
The wingtips were then removed, as well as all of the wing inspection hole
covers:
The wing root fairings and fuel tank covers were also removed:
Next, the inspection hole covers at the tail were removed:

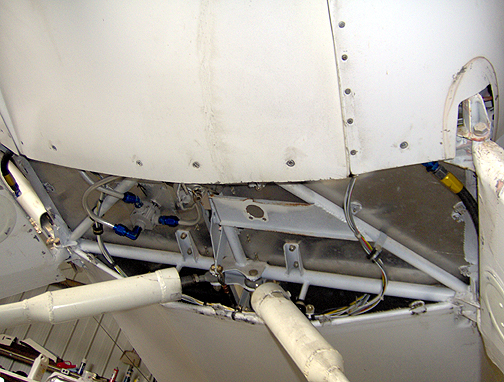
The bottom skin between the landing gear legs was removed so I could inspect
everything in there and get at the gascolator:
The front seats were removed, as well as the tunnel covers and front
floorboard:
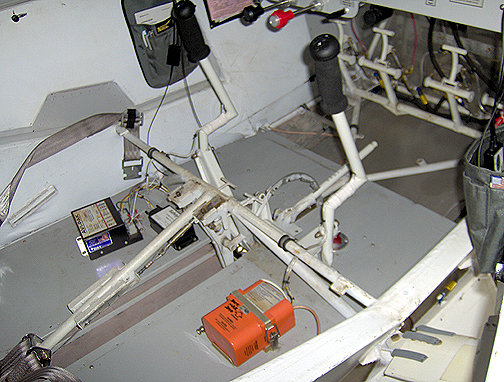
Normally, the front floorboard doesn't need to be removed for the inspection,
but I wanted to install a little insulation on the top of the tunnel skin.
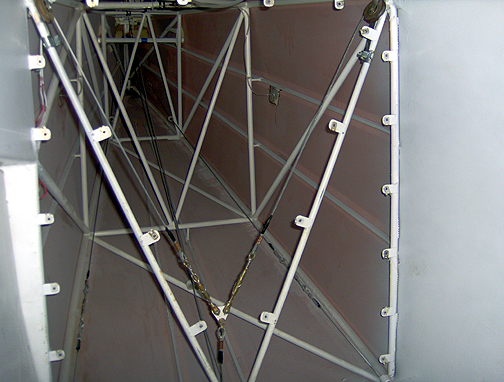
Finally, the rear baggage bulkhead skin was removed to allow full access
to the aft fuselage:
Click here to go to Annual Condition Inspection page
2